
First an admin note, I have added a section on the left of the current book I am reading. Not that I think I am an academic, but I have found some great recommendations from other historical gamers and someone may find this useful. My current book is only $0.99 for Kindle, so how can you go wrong!
Ok, on with the show.
Motor Rifle Regiment Hasty Attack
After the decisive defeat of the Forward detachment and lead Motor Rifle Battalion earlier in the day, the brigade has completed deploying to it assigned positions. The Brigade commander has pulled C/3-44 Armor and cross attached it to 2/93 INF. 3-44 AR has been assigned C/2-93 INF (Mech) mounted in M-113's and deployed them as battalion reserve.
3-44 AR does not have priority for fires or air support as another sector is under greater threat, so in the next round, it will have to depend on its organic weapons.
Meanwhile, the Soviet Motor Rifle Regiment commander gathers the survivors of the initial probe (which is a single BMP Company) and calls up his other two Motor Rifle Battalions to assault the now identified NATO defensive position.
(In the previous game, NATO units started hidden, but as all 3 tank companies were scouted and fired during the last game and have not repositioned, they will NOT start this game as hidden)


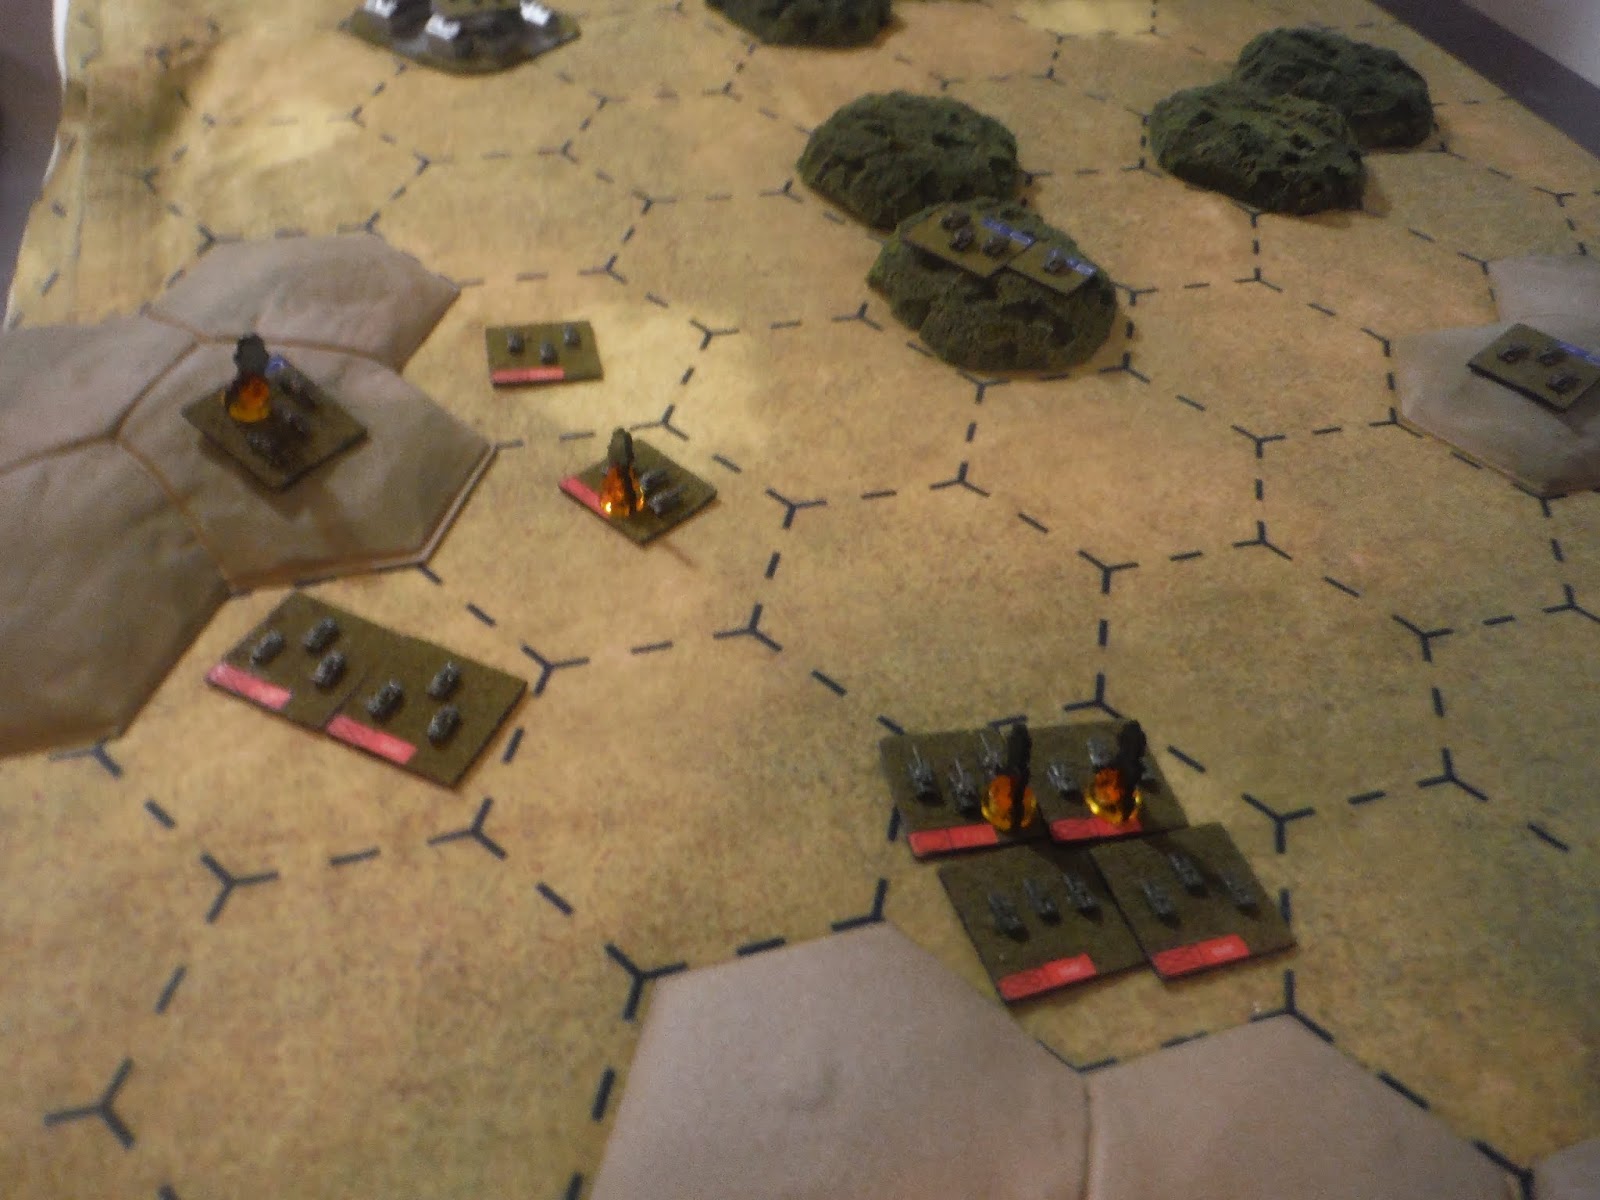
9A few turns later) 3-44 AR has redeployed A company to cover the gap with the scouts, and long-range fire has started to take its toll on the advancing MRB's.


They also close with to assault A company


The MRR attack is finally stopped. the battalion mechanics and the Brigade's Forward Support battalion will have their work cut out for them, though. I will use some sort of random mechanic to see which units are ready for the next fight, as combat ineffective does not necessarily equal destroyed.
I still think the rules are working well, next game I will add more artillery and air support and air defense units to exercise those parts of the rules.
All comments are welsome!
A nice game by the looks of the report. I noticed there were two bases in some hexes. Is that one unit represented by two bases or do you allow two units in a hex.
ReplyDeleteI deviate from the original rules by allowing up to 4 units to a hex. If you like you can concentrate and entire battalion in a single 1km hex, which will make them easier to control as you can spend 1 action point to move the lot. But... they are much more vulnerable to artillery and airstrikes.
DeleteTrying to force the player to have to decide against concentration or dispersion, and the Warsaw Pact will tend to want to concentrate on the attack as they will have fewer AP's per turn on average.