Apologies for taking a while to start fighting the campaign, but besides Thanksgiving, we also welcomed our first grandchild into the word! She is healthy and happy and I am of course planning to introduce her to gaming, although this week is probably a little early. Mom and Dad are doing fine and my wife spent the night to give them a night's sleep.Now on to the show...
My lovely and talented wife has pitched in to help with the campaign, and she divided the Patriot forces while I divided the British / Loyalists.
The first battle was between the detachments both armies sent west to the backcountry, the Order of Battle was:
Patriots
| 3 Leaders |
| Lee’s Legion Dragoons |
| Lee’s Legion light Infantry (Skirmishers) |
| 1st VA Continentals |
| 2nd VA Continental’s |
| 1 x Artillery |
|
| 5 militia |
| 1 Riflemen |
British / Loyalist
| 3 Leaders |
| 2 x British Legion Dragoons |
| 2 x Combined Light Infantry (Aggressive Elite, Skirmishers) |
| British Legion Infantry |
| 7th Foot |
| Jaegers (Elite, Skirmishers, Rifles) |
The Battle
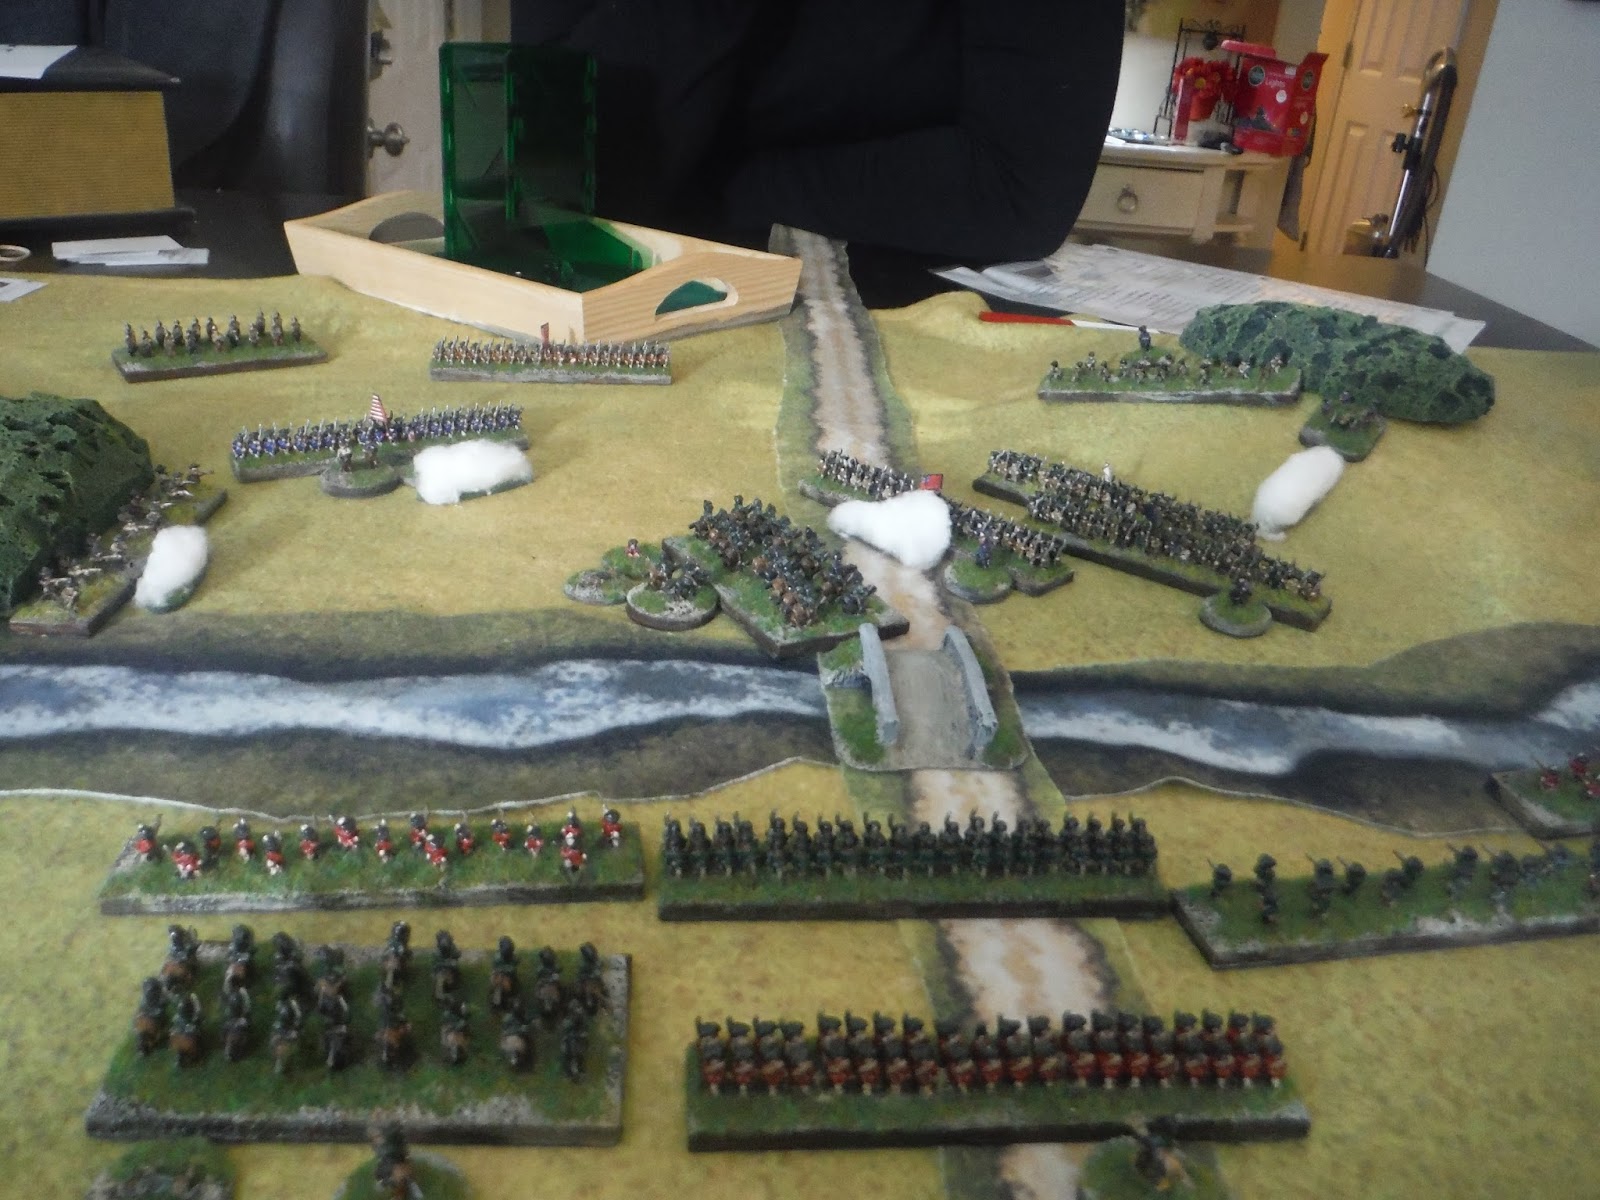
I randomly selected a map from Neil Thomas's One Hour Wargames scenarios and rolled up a river crossing. For narrative purposes, Morgan's plan is not to fight with a river at his back, but to wait on the other side and defeat Tarleton in detail as they crossed.
Here Morgan ponders his / her plans.
As Tarleton, my plan was based on shock action, I would personally lead my Dragoons across the bridge and disperse the militia, leaving room for the rest of my troops to cross and deploy.
I managed to steamroller one militia unit, but the beautiful General Morgan reoriented her forces to contain me and I did not have enough space to bring more troops across.
Here we have the Rebels pouring fire into the brave British Legion dragoons while the British Legion foot prepares to cross and support them. The lights fire across the river sporadically.
Here we have the climax of the battle. The Dragoons and Legion infantry that crossed the river are annihilated by concentrated Rebel fire. Tarleton killed (unknown whether during or after the battle...)
With reports that Tarleton was hor de combat, Major Newmarsh of the 7th foot takes command and calls off the attack. The British fall back and prepare to regroup with Cornwallis' main army.
After Action Review
My Take on Events:
From a campaign standpoint, the British have permanently lost half of the British Legion Dragoons and all of the British Legion foot, as well as Tarleton himself. On the other hand, it was not nearly the disaster of the actual Battle of Cowpens, where Tarleton lost his entire command.
From a rules standpoint, we have not played these in a while and it took a little while for both of us to get back up to speed. The next game between the main armies will be an open field battle and should be interesting, with more room to maneuver.
Jozi's Take on Events:
As a relative newbie to the wargaming life, I will have to say that I was a bit frustrated with the whole bridge thing. Not only did the bridge limit strategy, but the troop abilities also limited setup choice.Take, for instance, I had 5 units of really lousy militia with a firing capability of two base widths. Great range, but the troop's firepower was limited by 1/2 when compared to everything else on the table. So, I ended up seeing the militia as war fodder as I immediately lost two entire units to the British Calvary.
Being a very big poor sport, I got pissy and pulled back all of the "good troops" in my mental attempt to start over again (British set me up). This big baby move actually proved to be a good idea.
Having cleared the field a bit, I then moved everything that I felt was "fodder" in direct line with that darn bridge. This included the cannon, which I quickly fell in love with. After a few lucky rolls and some aggressive rallying of the troops (to clear up some hits), the British began a running!
Working with newbies or your wife, keep in mind a few things:
Tip #1 Always be clear when asked a question. When asked if my riflemen were safer in the treeline or pulled back, the British cunningly said "Oh yeah! They are untouchable in the treeline." Not true, if you roll a 6.
Tip#2 Never set up newbies, or your wife's, men. No need to say more on this.
Tip#3 Keep scenarios simple.
Tip#4 Run through some open field practice games.
Tip#5 Keep the newbie focused on using the quick reference sheet. That way the seasoned gamer is a bit less responsible for all the other person's bad die rolls and strategy errors.